Jira
With Gremlin's Jira integration, you can create and track Jira issues directly from Services, Scenario Runs, and GameDay Summaries in Gremlin. Jira integration must be enabled at the individual user account level.
Permissions
Gremlin requires access to certain information in your Jira workspace. Jira will provide a detailed list of permissions required and ask you to authorize access for Gremlin before the integration is enabled.
What will Gremlin be able to do?
- View resources such as projects, users, issue types, and so on.
- Create issues and update their attributes such as attachments, comments, and so on.
Enabling Jira integration
You can enable Jira integration for Gremlin in the following places:
- Account Settings, on the Integations tab
- Services page, on the Integrations tab
- Scenario Details page, on the Runs tab
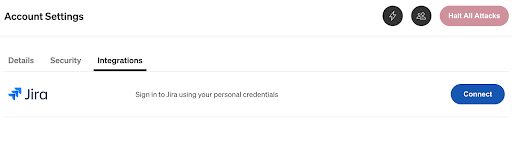
Account Settings
To enable Jira integration from Account Settings:
In Gremlin, click the people icon in the upper right corner.
Under Settings, click Account Settings.
Click Integrations and you'll see the available integrations.
Next to Jira, click Connect. You'll be redirected to the Jira Cloud login page.
On the Jira Cloud login page, enter your credentials.
Jira will ask you to authorize Gremlin to access your Jira account and allow actions for reading resources (such as projects, users, issue types, and so on) and creating issues on your behalf. Click Accept.

Once the integration is complete, you'll see a confirmation message. You can now create Jira issues directly in Gremlin for Scenario Runs and GameDay Summaries.
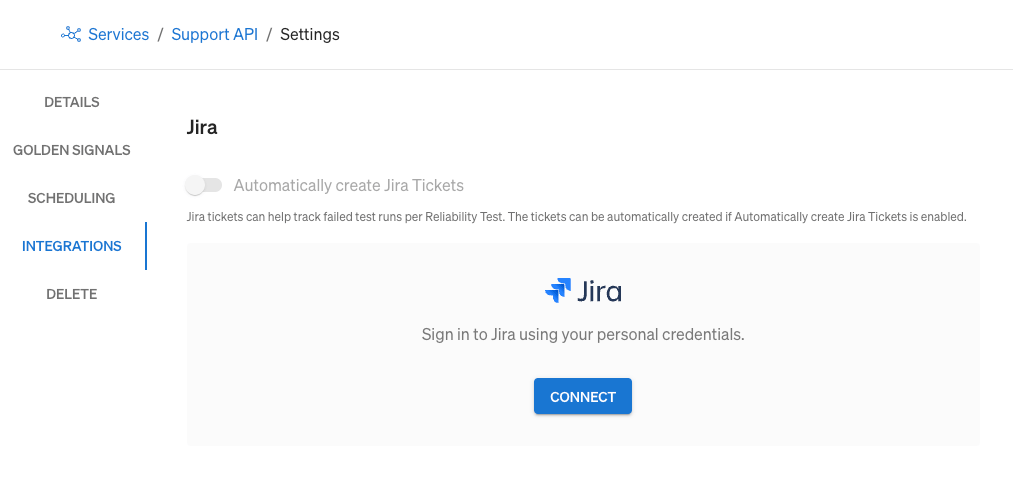
Service Settings
To enable Jira integration from a Services page:
Click Settings and then click Integrations.
Under Jira, click Connect. You'll be redirected to the Jira Cloud login page.
On the Jira Cloud login page, enter your credentials.
Jira will ask you to authorize Gremlin to access your Jira account and allow actions for reading resources (such as projects, users, issue types, and so on) and creating issues on your behalf. Click Accept.
Once the integration is complete, you'll see a confirmation message.
Click Automatically create Jira Tickets and select the default values to be used for Jira tickets (Project, Issue Type, Priority Type, Assignee, and Labels).

Click Save. You can now create Jira issues directly in Gremlin.
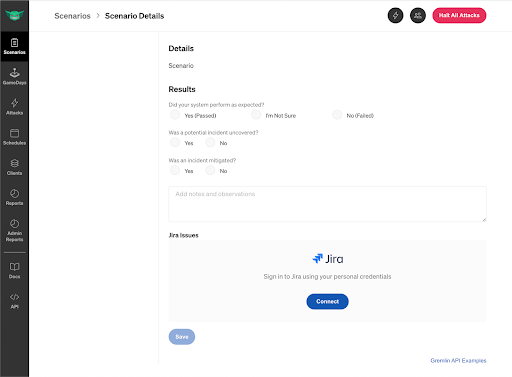
Scenario Details
To enable Jira integration from a Scenario Details page:
On the Runs tab, under Jira Issues, click Connect. You'll be redirected to the Jira Cloud login page.
On the Jira Cloud login page, enter your credentials.
Jira will ask you to authorize Gremlin to access your Jira account and allow actions for reading resources (such as projects, users, issue types, and so on) and creating issues on your behalf. Click Accept.
Once the integration is complete, you'll see a confirmation message. You can now create Jira issues directly in Gremlin.
Revoking Jira access
Removing Gremlin's access to Jira will not affect any issues that originated from Gremlin. If you enable Jira integration again, you'll see all previous Jira issues listed in the Jira Issues section.
To revoke access to Jira:
In Gremlin, click the people icon in the upper right corner.
Under Settings, click Account Settings.
Click Integrations and you'll see a list of integrations.

Next to Jira, click Remove. You'll see a confirmation message when the integration is completely removed.