Private Network Integration Agent
Private Network Integrations lets you use Gremlin's Health Checks and Webhooks featires without exposing your internal network endpoints to the public Internet. This lets you integrate Gremlin with your observability solutions, testing tools, and other internal platforms, all while keeping them fully contained within your private network.
Here's how it works:
- Deploy the Integration Agent into your environment. This agent is separate from our Gremlin agent.
- When creating a Health Check, set "Is this observability tool behind a firewall or on-prem' to Yes. When creating a Webhook, check "Private Network Endpoint".
- When the Health Check or Webhook runs, Gremlin runs it from the Integration Agent instead of from our backend systems.
Installation
Gremlin's Integration Agent can be deployed into bare-metal Linux environments, container-based environments running Linux, and into virtual machines.
Gathering credentials
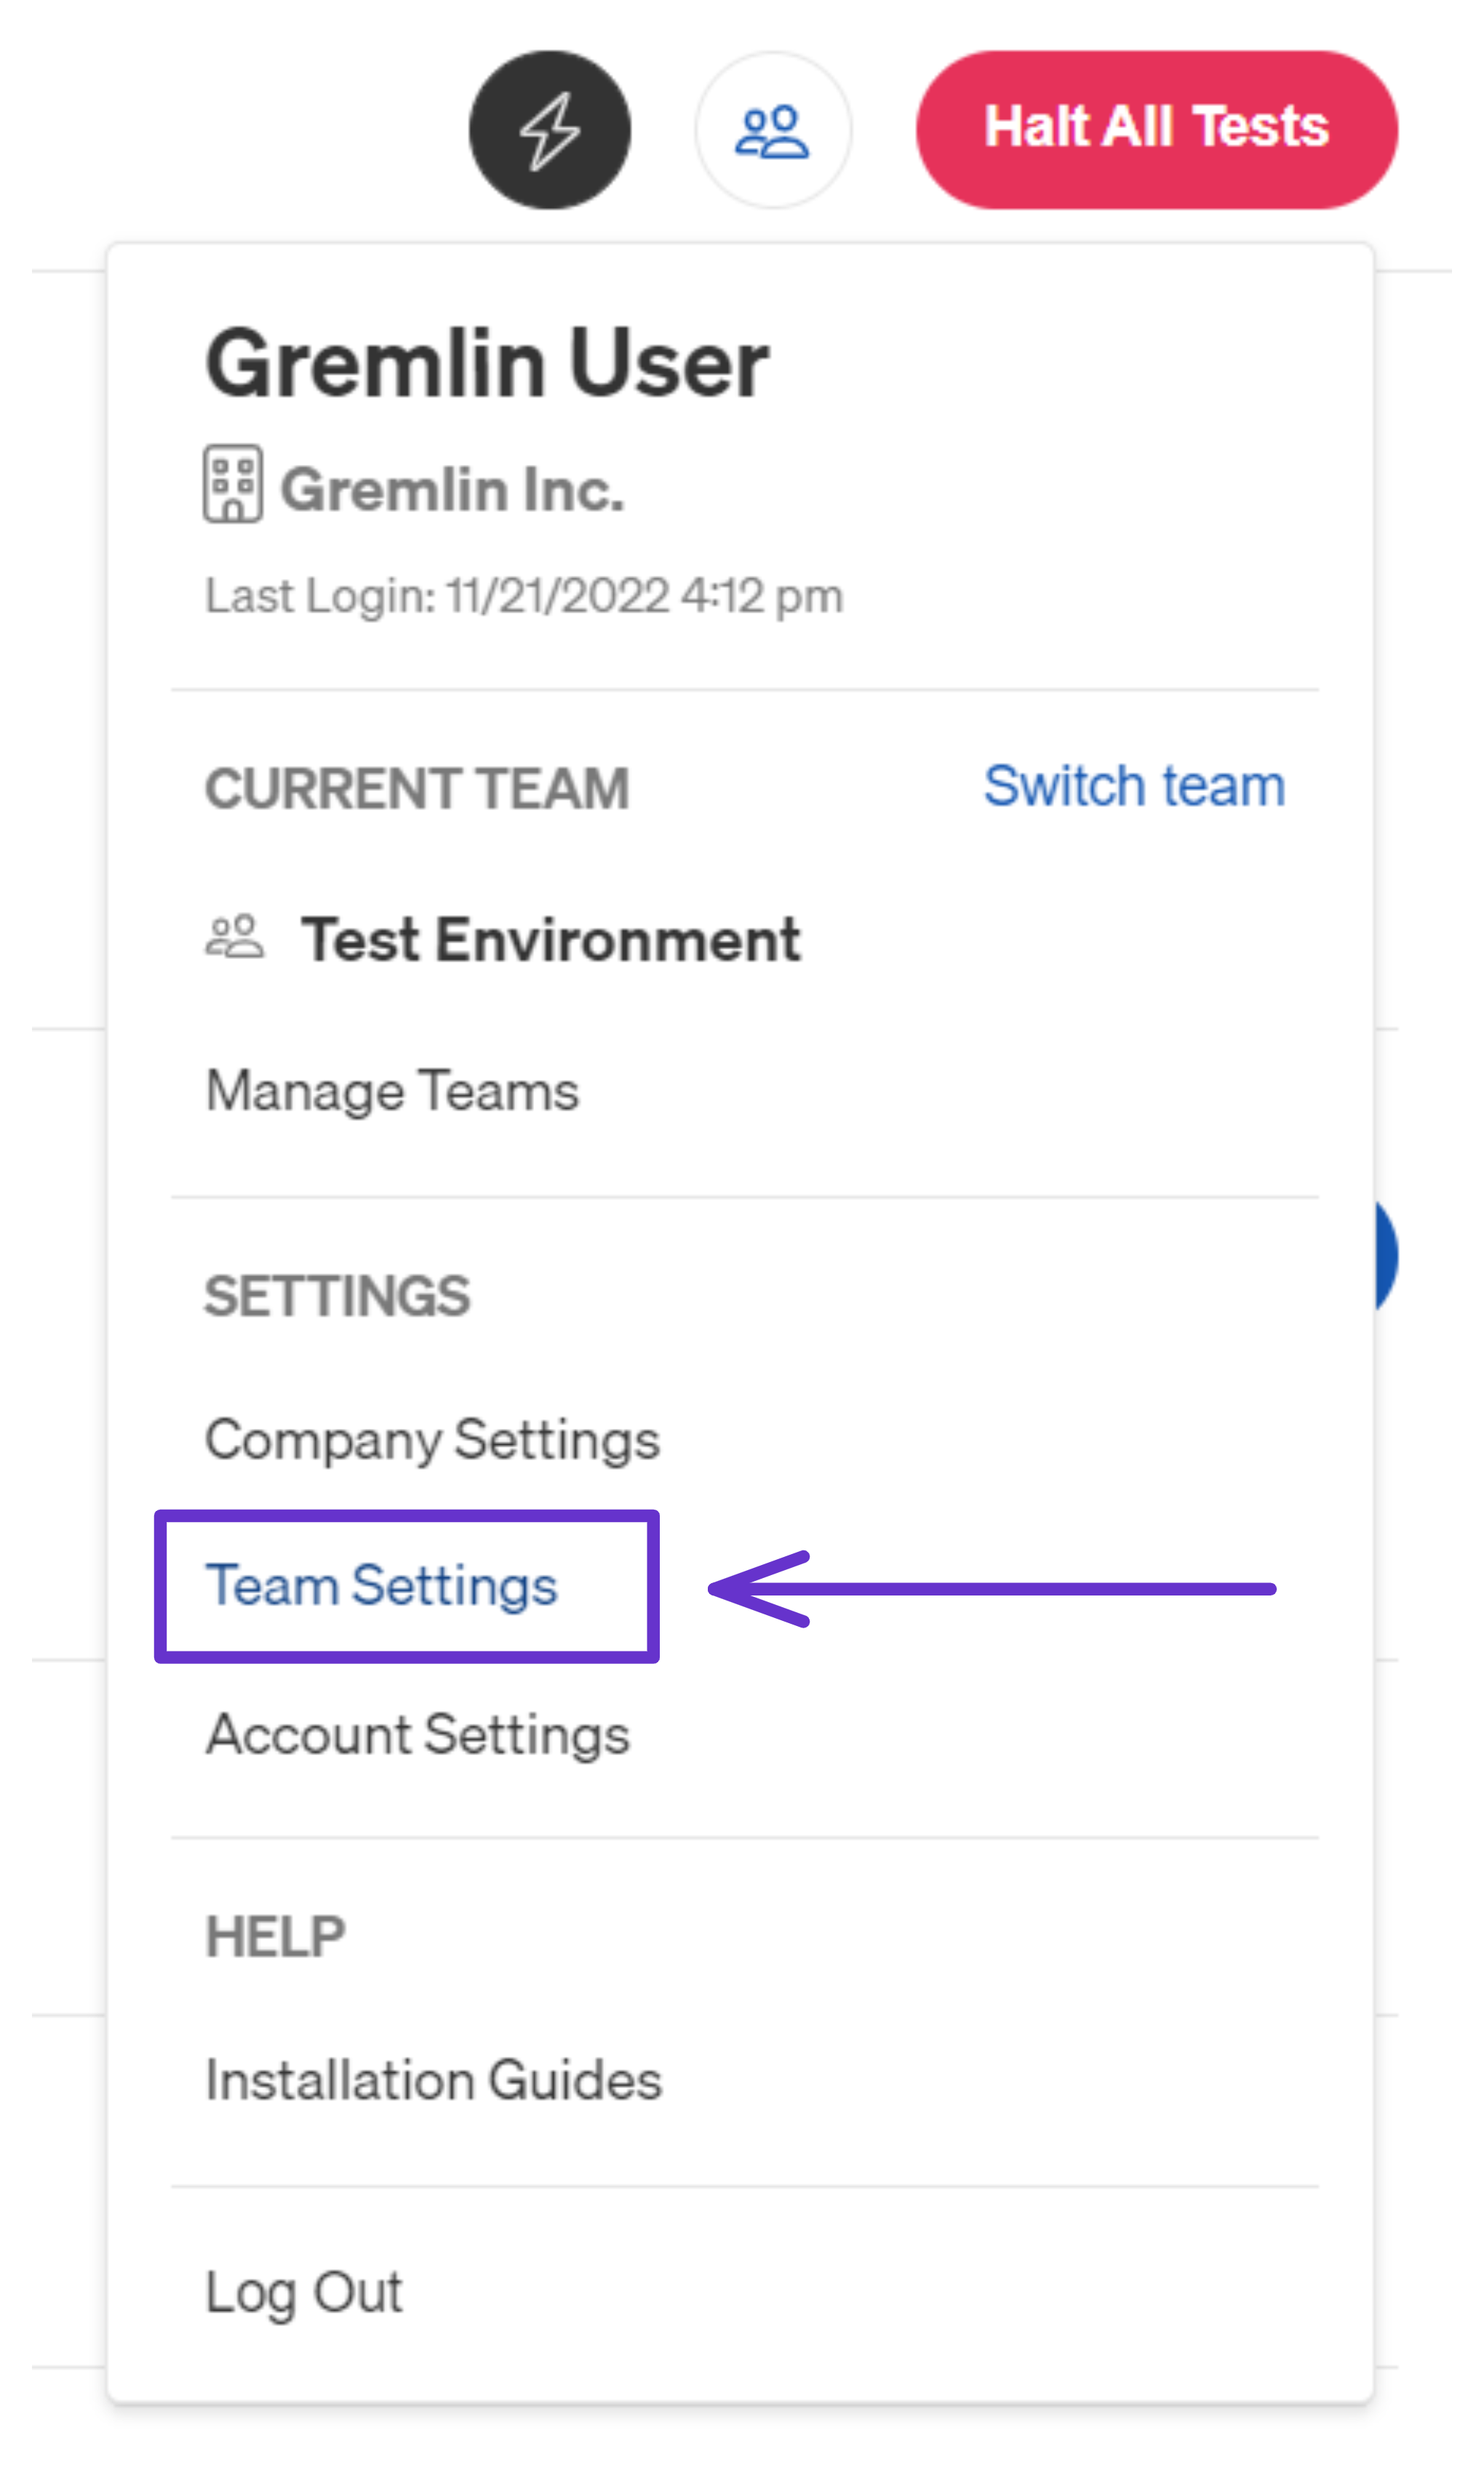
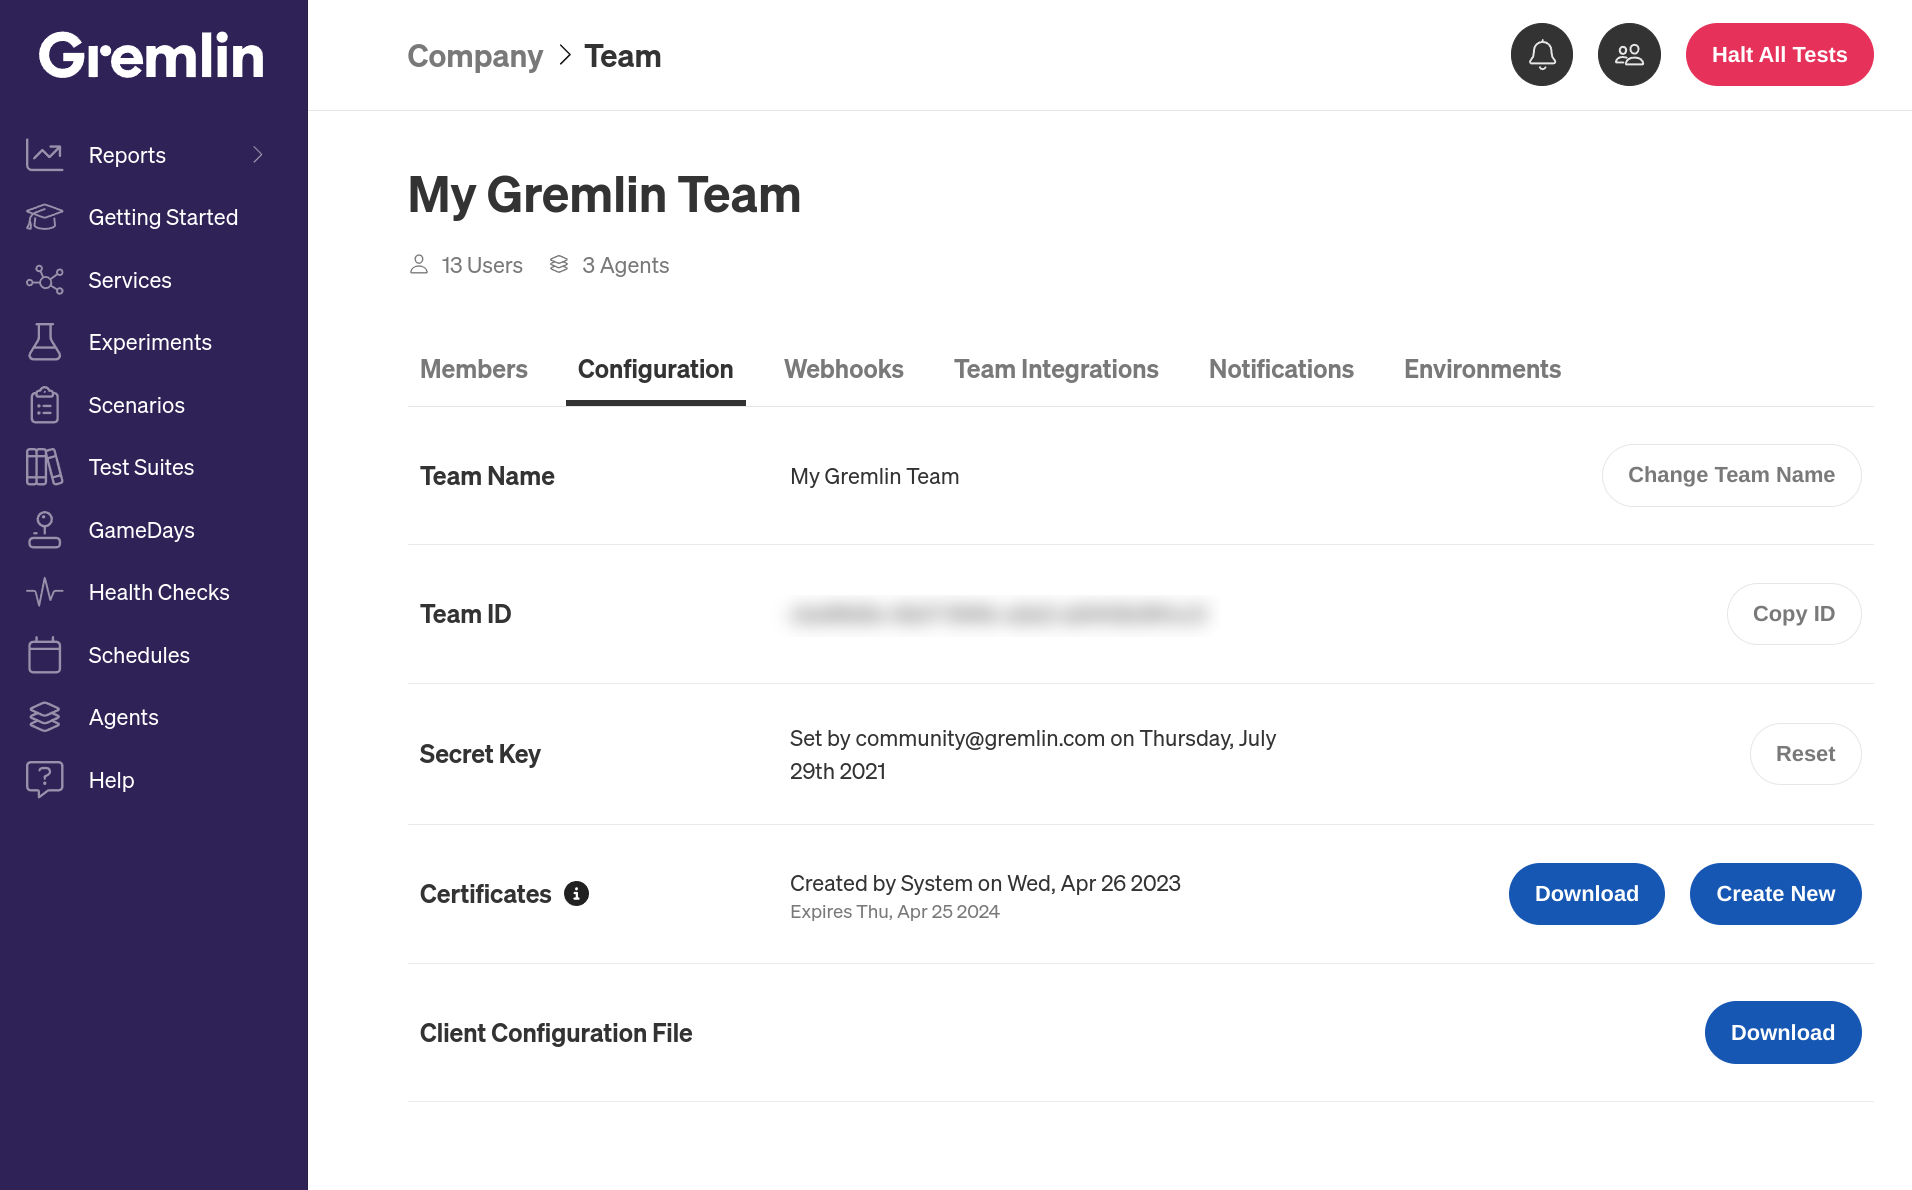
Just like the regular agent, the Integration Agent requires authentication details to connect to your Gremlin team. Make sure to create and download a certificate pair before continuing. You'll also need your Gremlin team ID, which you can retrieve from the Gremlin web app.
Kubernetes
The Kubernetes version of the Integration Agent is available as a Helm chart.
First, add the Gremlin Helm repository:
1helm repo add gremlin https://helm.gremlin.com/
Before running the chart, unzip the ZIP file containing your Gremlin certificates. You'll need to reference the files in here when running the Helm command. In the command below, replace /path/to/gremlin.cert and /path/to/gremlin.key with the full paths to your certificate and private key files, respectively. You'll also need to replace $GREMLIN_TEAM_ID with your actual team ID:
1helm install gremlin-integrations gremlin/gremlin-integrations \2 --set gremlin.secret.managed=true \3 --set gremlin.secret.type=certificate \4 --set gremlin.secret.teamID=$GREMLIN_TEAM_ID \5 --set-file gremlin.secret.certificate=/path/to/gremlin.cert \6 --set-file gremlin.secret.key=/path/to/gremlin.key \7 --set 'tolerations[0].effect=NoSchedule' \8 --set 'tolerations[0].key=node-role.kubernetes.io/master' \9 --set 'tolerations[0].operator=Exists'
For more info on the Helm chart, including additional options, features, and update instructions, see the chart's Github repo.
Ubuntu, Debian, etc.
For DEB-based Linux distributions (DEB packages), use the following commands to install the agent:
1# Add packages needed to install and verify gremlin (already on many systems)2sudo apt update && sudo apt install -y apt-transport-https dirmngr34# Add the Gremlin repo5echo "deb https://deb.gremlin.com/ release non-free" | sudo tee /etc/apt/sources.list.d/gremlin.list67# Import the GPG key8sudo apt-key adv --keyserver keyserver.ubuntu.com --recv-keys 9CDB294B29A5B1E2E00C24C022E8EF3461A50EF6910# Install Gremlin client and daemon11sudo apt update && sudo apt install -y gremlin-integrations
List older versions of the gremlin integrations agent via: apt list -a gremlin-integrations and install them via apt install gremlin-integrations=x.x.x-x
Next, download the configuration file and copy it to /etc/gremlin/integrations-config.yaml. Then restart the service:
1sudo systemctl restart gremlin-integrations
Amazon Linux, RHEL, CentOS, etc.
For RPM-based Linux distributions (RPM packages)
1# Add the Gremlin repo2sudo curl https://rpm.gremlin.com/gremlin.repo -o /etc/yum.repos.d/gremlin.repo34# Install Gremlin client and daemon5sudo yum install -y gremlin-integrations
List older versions of the gremlin integrations agent via: yum list available gremlin-integrations --showduplicates and install them via yum install gremlin-integrations-x.x.x-x
Next, download the configuration file and copy it to /etc/gremlin/integrations-config.yaml. Then restart the service:
1sudo systemctl restart gremlin-integrations
Docker
While we recommend against using standalone Docker to deploy the Integration Agent (use Kubernetes or install using a package manager), it is possible.
When using Docker, the easiest way to pass configuration is using a client configuration file. A client configuration file is a file generated by Gremlin containing everything needed to connect an agent to your Gremlin account, including your team ID, public key, and private key. Download the configuration file and run the following command:
1docker run -it \2 -v /path/to/my/integrations-config.yaml:/etc/gremlin/integrations-config.yaml \3 gremlin/gremlin-integrations:latest
Managing Allowlists
By default, the Integration Agent can send requests to any URL provided by a Gremlin user when setting up a Health Check or Webhook. If you want to restrict which URLs the agent can communicate with, you can use Allowlists. This prevents the agent from accessing any endpoints not included in the list.
You can set up an allow list by adding an integration_agent_allow_list array to the agent's configuration file. Each item in the array is a URL pattern. For example, the following allow list will only communicate with port 8080 on localhost and port 8080 on host.docker.internal:
1integration_agent_allow_list:2 - ^http://localhost:80803 - ^http://host.docker.internal:8080
Items in the list will be evaluated as regex expressions. If you want to allow the agent to communicate with any URL, just remove or comment out the allow list from the configuration file.