Chaos Engineering with Puppet

Introduction
Gremlin is a simple, safe and secure service for performing Chaos Engineering experiments through a SaaS-based platform. Puppet is a tool for managing the desired state of hosts. Puppet works using a client server model, with a Puppet agent installed on each host, and a process called the puppetserver that tells the hosts what their state should look like. There’s an open source version of Puppet that you can use for free, and a commercial version called Puppet Enterprise (PE). We’re going to look at Puppet Enterprise as it’s a self-contained, complex system, and offers the possibilities for some very interesting testing.
Chaos Engineering Hypothesis
Puppet Enterprise includes many services, some of which are dependent on each other. We’re going to use Gremlin’s process killer to kill some specific services, and observe how the client behaves with them down. In the first case we expect to see connection failures. The second failed service will be a database, and it may produce a more interesting results.
Prerequisites
To complete this tutorial you will need:
- A CentOS 7 host
- An account on the host that can run commands as root with sudo
- A Gremlin account (sign up here)
Overview
This tutorial will walk you through the required steps to run the Puppet Enterprise Chaos Engineering experiments.
- Step 1 - Provisioning the CentOS 7 host
- Step 2 - Installing Puppet Enterprise
- Step 3 - Installing Gremlin for Chaos Engineering experiments
- Step 4 - Understanding the Puppet Enterprise architecture
- Step 5 - Performing Chaos Engineering experiment on the Puppet Server
- Step 6 - Performing Chaos Engineering experiment on PuppetDB
- Step 7 - Additional Chaos Engineering experiments to run on Puppet Enterprise
Step 1 - Provisioning the CentOS 7 host
You can provision the CentOS 7 host using any cloud provider or provisioning tools you’re comfortable with. Puppet recommends that the host for small Proof Of Concept environments have 2 cores, at least 6G RAM, and 20G of available disk in /opt. If you’re using AWS, the recommended ec2 host is m5.large.
Step 2 - Installing Puppet Enterprise
Download the Puppet Enterprise Master software for CentOS 7.
Copy the tarball to your CentOS 7 host and run the installer. Substitute your actual username and hostname/IP in the following commands.
1scp puppet-enterprise*.tar.gz centos@centos7:2ssh centos73tar xvfz puppet-enterprise*.tar.gz4cd puppet-enterprise*/5sudo ./puppet-enterprise-installer
Select 1 for the text mode install. This will open up the installer configuration file (pe.conf) in your default text editor. The only thing you need to change in the file is to set a password for logging into the Puppet Enterprise console (the web UI). Look for this line in the text:
1"console_admin_password": ""
Put the password you want in between the blank quotes, like:
1"console_admin_password": "my_secret_password"
Save and exit the file. Select Y to continue with the installation, and the installer will run to completion.
The last step is to run the Puppet agent twice. Puppet Enterprise manages the Puppet master host itself, and this will put in place the last bits of configuration needed. You can run the agent from the command line with this command:
1sudo /opt/puppetlabs/bin/puppet agent -t
You might see a lot of output the first run. The output should end with a line like:
1Notice: Applied catalog in 19.11 seconds
Run the agent at least one more time. You want to get to the point where the agent is no longer making changes, which means the host is in the desired state. The output from that agent run will look something like this:
1Info: Using configured environment 'production'2Info: Retrieving pluginfacts3Info: Retrieving plugin4Info: Retrieving locales5Info: Loading facts6Info: Caching catalog for puppet.localdomain7Info: Applying configuration version '1544204314'8Notice: Applied catalog in 19.11 seconds
Puppet has applied the catalog (the desired configuration state), but no changes were necessary. This means we have the host in the right state.
That concludes the installation. If you run into any problems or questions while installing Puppet Enterprise, consult the installation documentation.
Step 3 - Installing Gremlin for Chaos Engineering experiments
Install Gremlin using our guide for installing on CentOS 7.
Step 4 - Understanding the Puppet Enterprise architecture
Before we start running chaos experiments on Puppet Enterprise, let’s get a bit more familiar with the architecture. There’s a diagram of the architecture in the Puppet Enterprise docs. It’s a complex system, but here are some of the major components we might want to experiment on:
Puppet agent - This is the client process that runs on each host. The agent gathers up info about the host, sends it to the server, and then executes whatever commands are needed to bring the host into the desired state.
Puppet Server - This is the server process that runs on one or more hosts. It takes the information it receives about each host from their agents, and evaluates the Puppet code to determine what the state of the host should be (this is referred to in Puppet speak as compiling the catalog). It uses Jruby and runs in a JVM.
Puppet DB - This process is used to write down different kinds of data about what’s happening in the Puppet Enterprise ecosystem, like reports about what happened when a Puppet agent ran. It can also be used to do service discovery. For example, you can export a list of web hosts, and have Puppet include them automatically when it configures their load balancer. PuppetDB is written in Clojure, and is backed by a PostgreSQL database.
RBAC Service - This service manages the Puppet Enterprise Role Based Access Control.
Console Service - This service runs the Puppet Enterprise web UI.
Step 5 - Performing Chaos Engineering experiment on the Puppet Server
We will use the Gremlin web app to kill the puppetserver process, and then observe the results. The purpose of the experiment is to see how the Puppet agent responds when the server is unavailable.
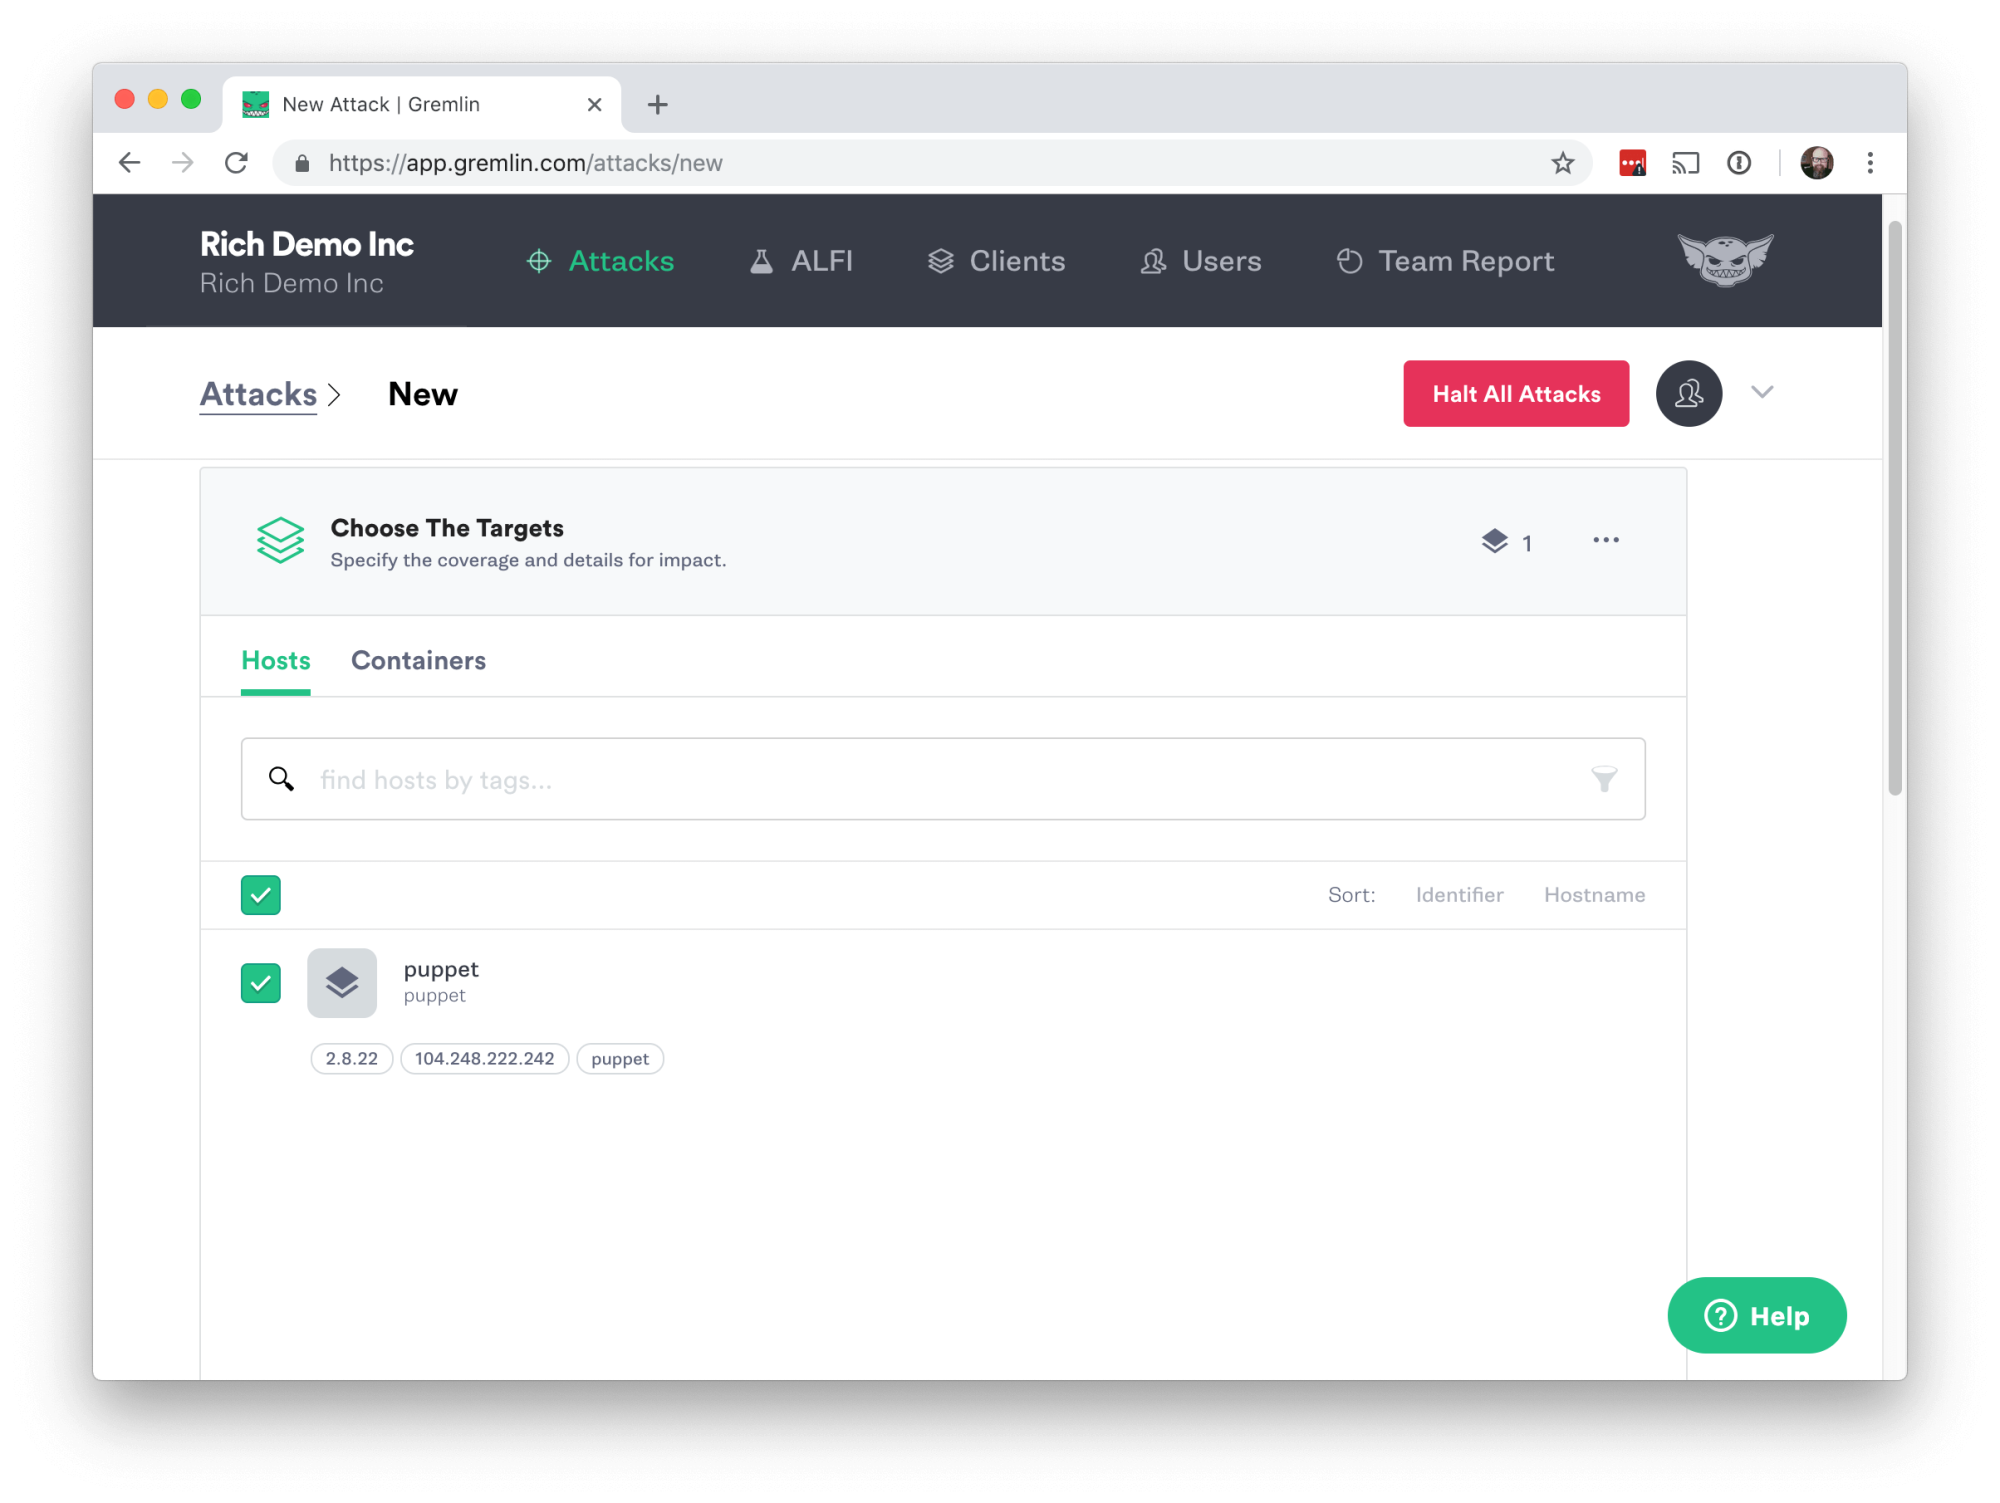
First, sign into your Gremlin account and click Create Attack. Select the hostname of the CentOS 7 host you installed Puppet Enterprise on.

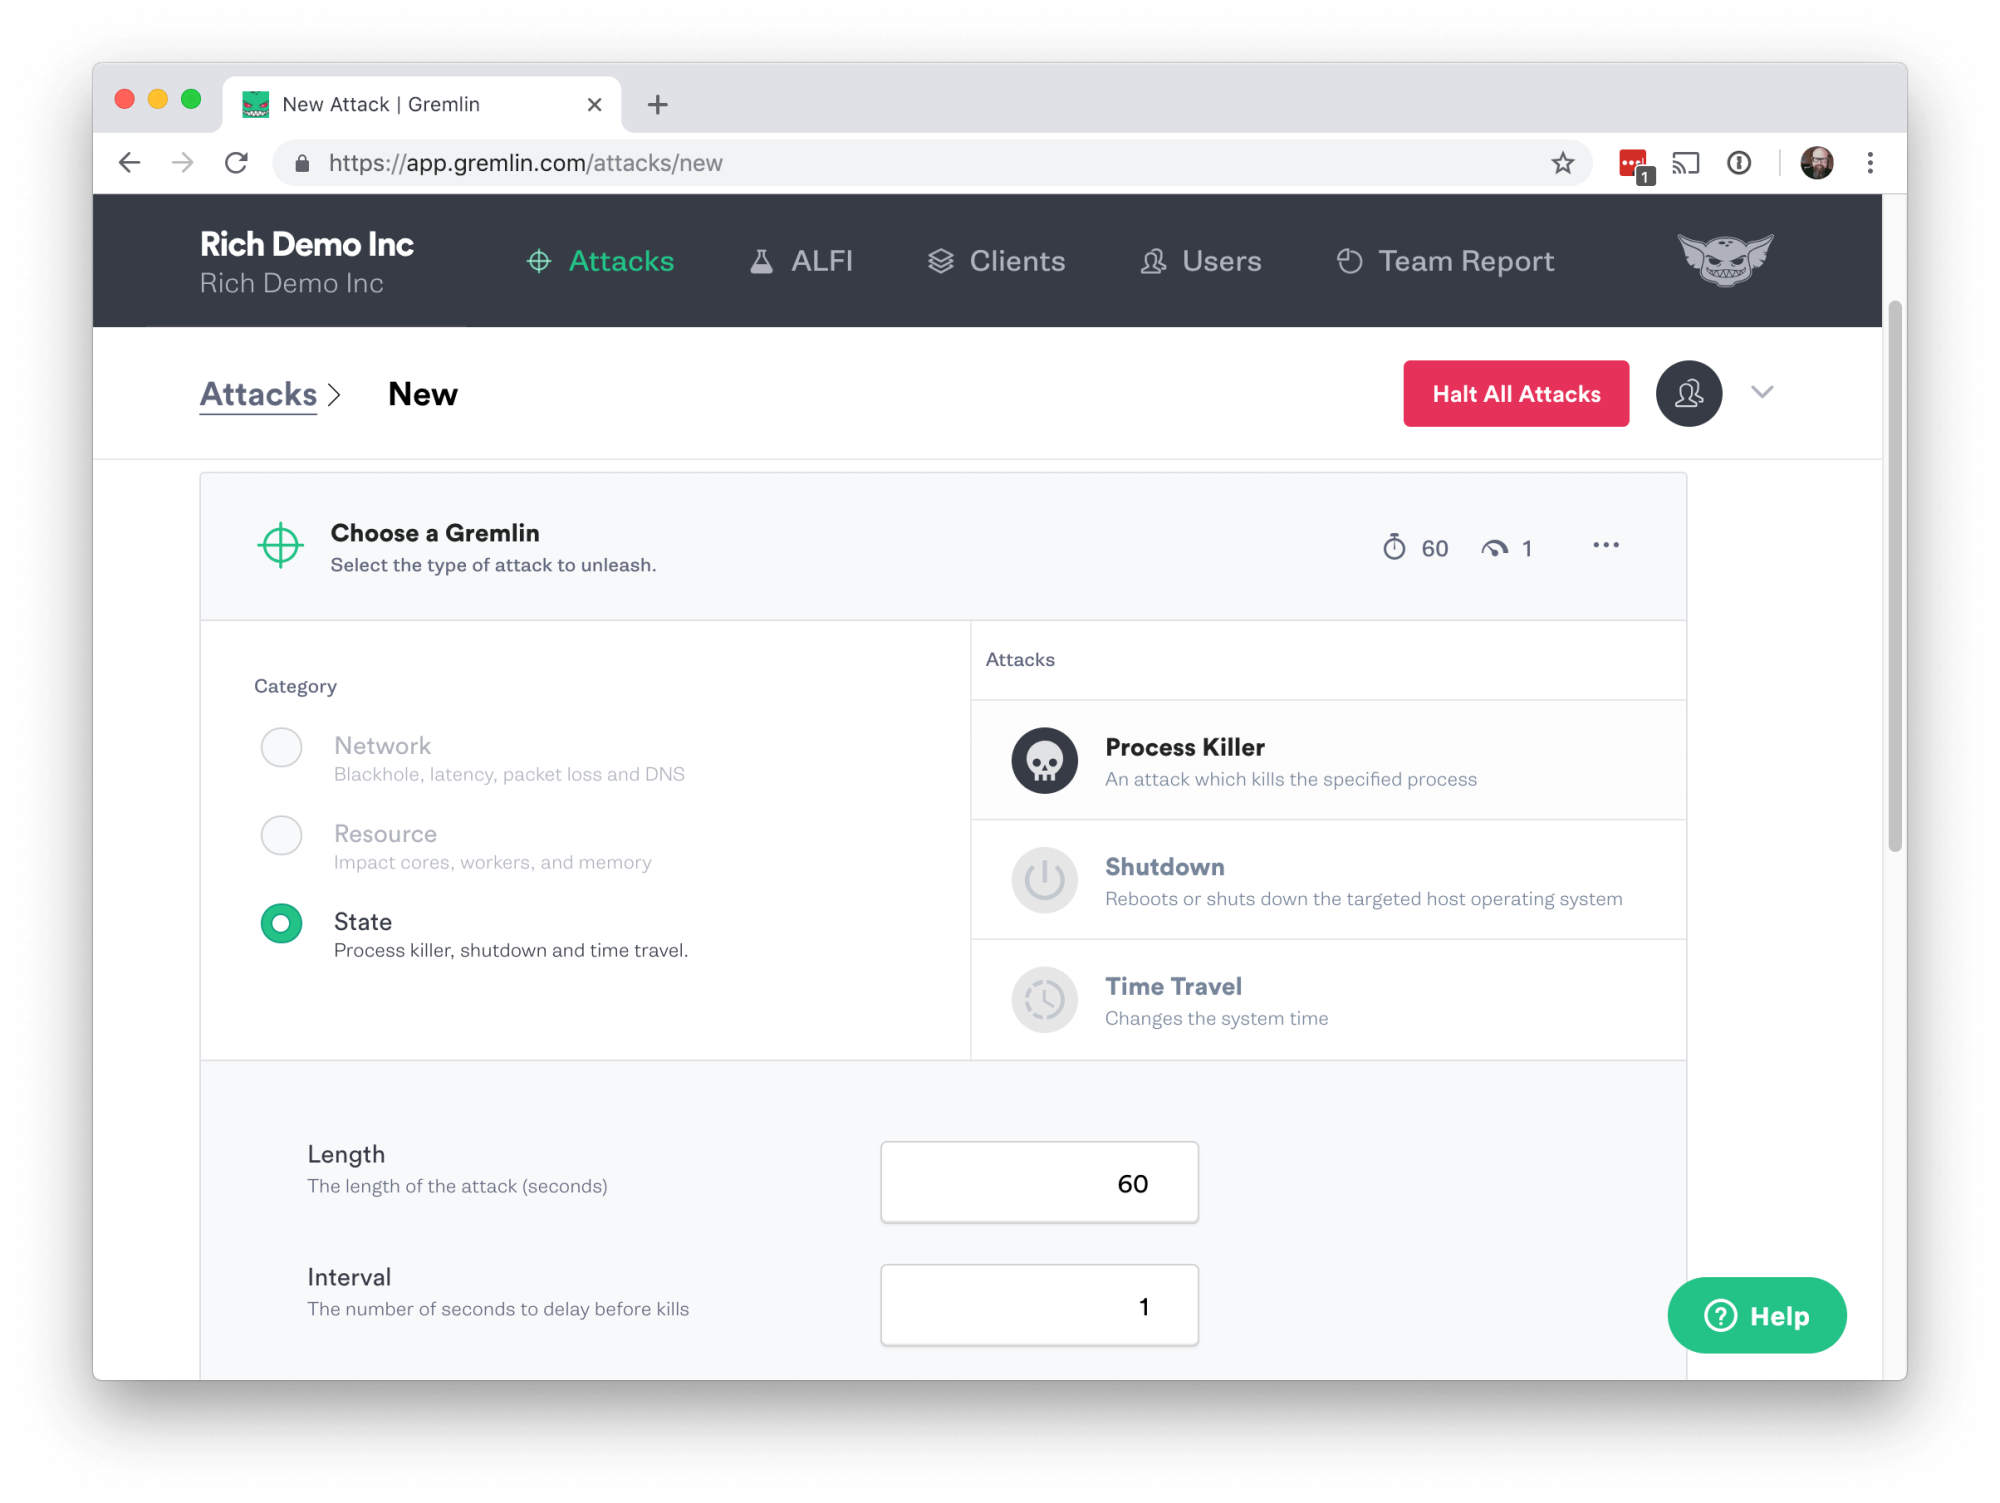
Next scroll down to Choose a Gremlin, click on State and then Process Killer.

Scroll down in the attack setting until you see Process.

The Process Killer attack allows you to specify either the process name, or the process ID (PID). We’ll use the PID for this first experiment.
To find the PID of the Puppet Server, go back to the command line on the server and run:
1sudo ps aux | grep puppetserver | grep -v grep
The output will display info for the puppetserver process including the PID. Enter the PID in the Process Killer attack settings, and click Unleash Gremlin in the bottom left.
After the attack completes, go back to your shell on the host and run the Puppet agent by hand again.
1sudo /opt/puppetlabs/bin/puppet agent -t
We expected to see some sort of error like “connection refused” if the Puppet Server process was killed, but what you should see is an agent run with no changes applied:
1[centos@puppet ~]$ sudo /opt/puppetlabs/bin/puppet agent -t2Info: Using configured environment 'production'3Info: Retrieving pluginfacts4Info: Retrieving plugin5Info: Retrieving locales6Info: Loading facts7Info: Caching catalog for puppet.localdomain8Info: Applying configuration version '1546812517'9Notice: Applied catalog in 19.05 seconds
So what happened? We killed the process but it’s still running. At the terminal, run the command again to find the PID:
1sudo ps aux | grep puppetserver | grep -v grep
You should see a puppetserver process running, but with a new PID. Gremlin did kill the process but CentOS 7 uses systemd, and the puppetserver process is configured to restart if it dies. This is a great result. We broke something in the Puppet Enterprise system, and the system corrected it without our intervention.
Even though we’ve discovered that systemd will restart this process if it dies, it’s a common practice to run multiple puppetserver processes behind a load balancer for increased reliability and scaling.
Step 5 - Performing Chaos Engineering experiment on PuppetDB
As we discussed earlier, the PuppetDB service is backed by a Postgres database. It’s likely that if we kill the PuppetDB process itself that systemd will restart it, as we saw in the first experiment. But what happens if we kill the database itself?
In the Gremlin UI click on Create Attack, and then on State and Process Killer like we did before. This time instead of using the PID for the Postgres database, we’ll kill it by name. Enter postgres for the process:

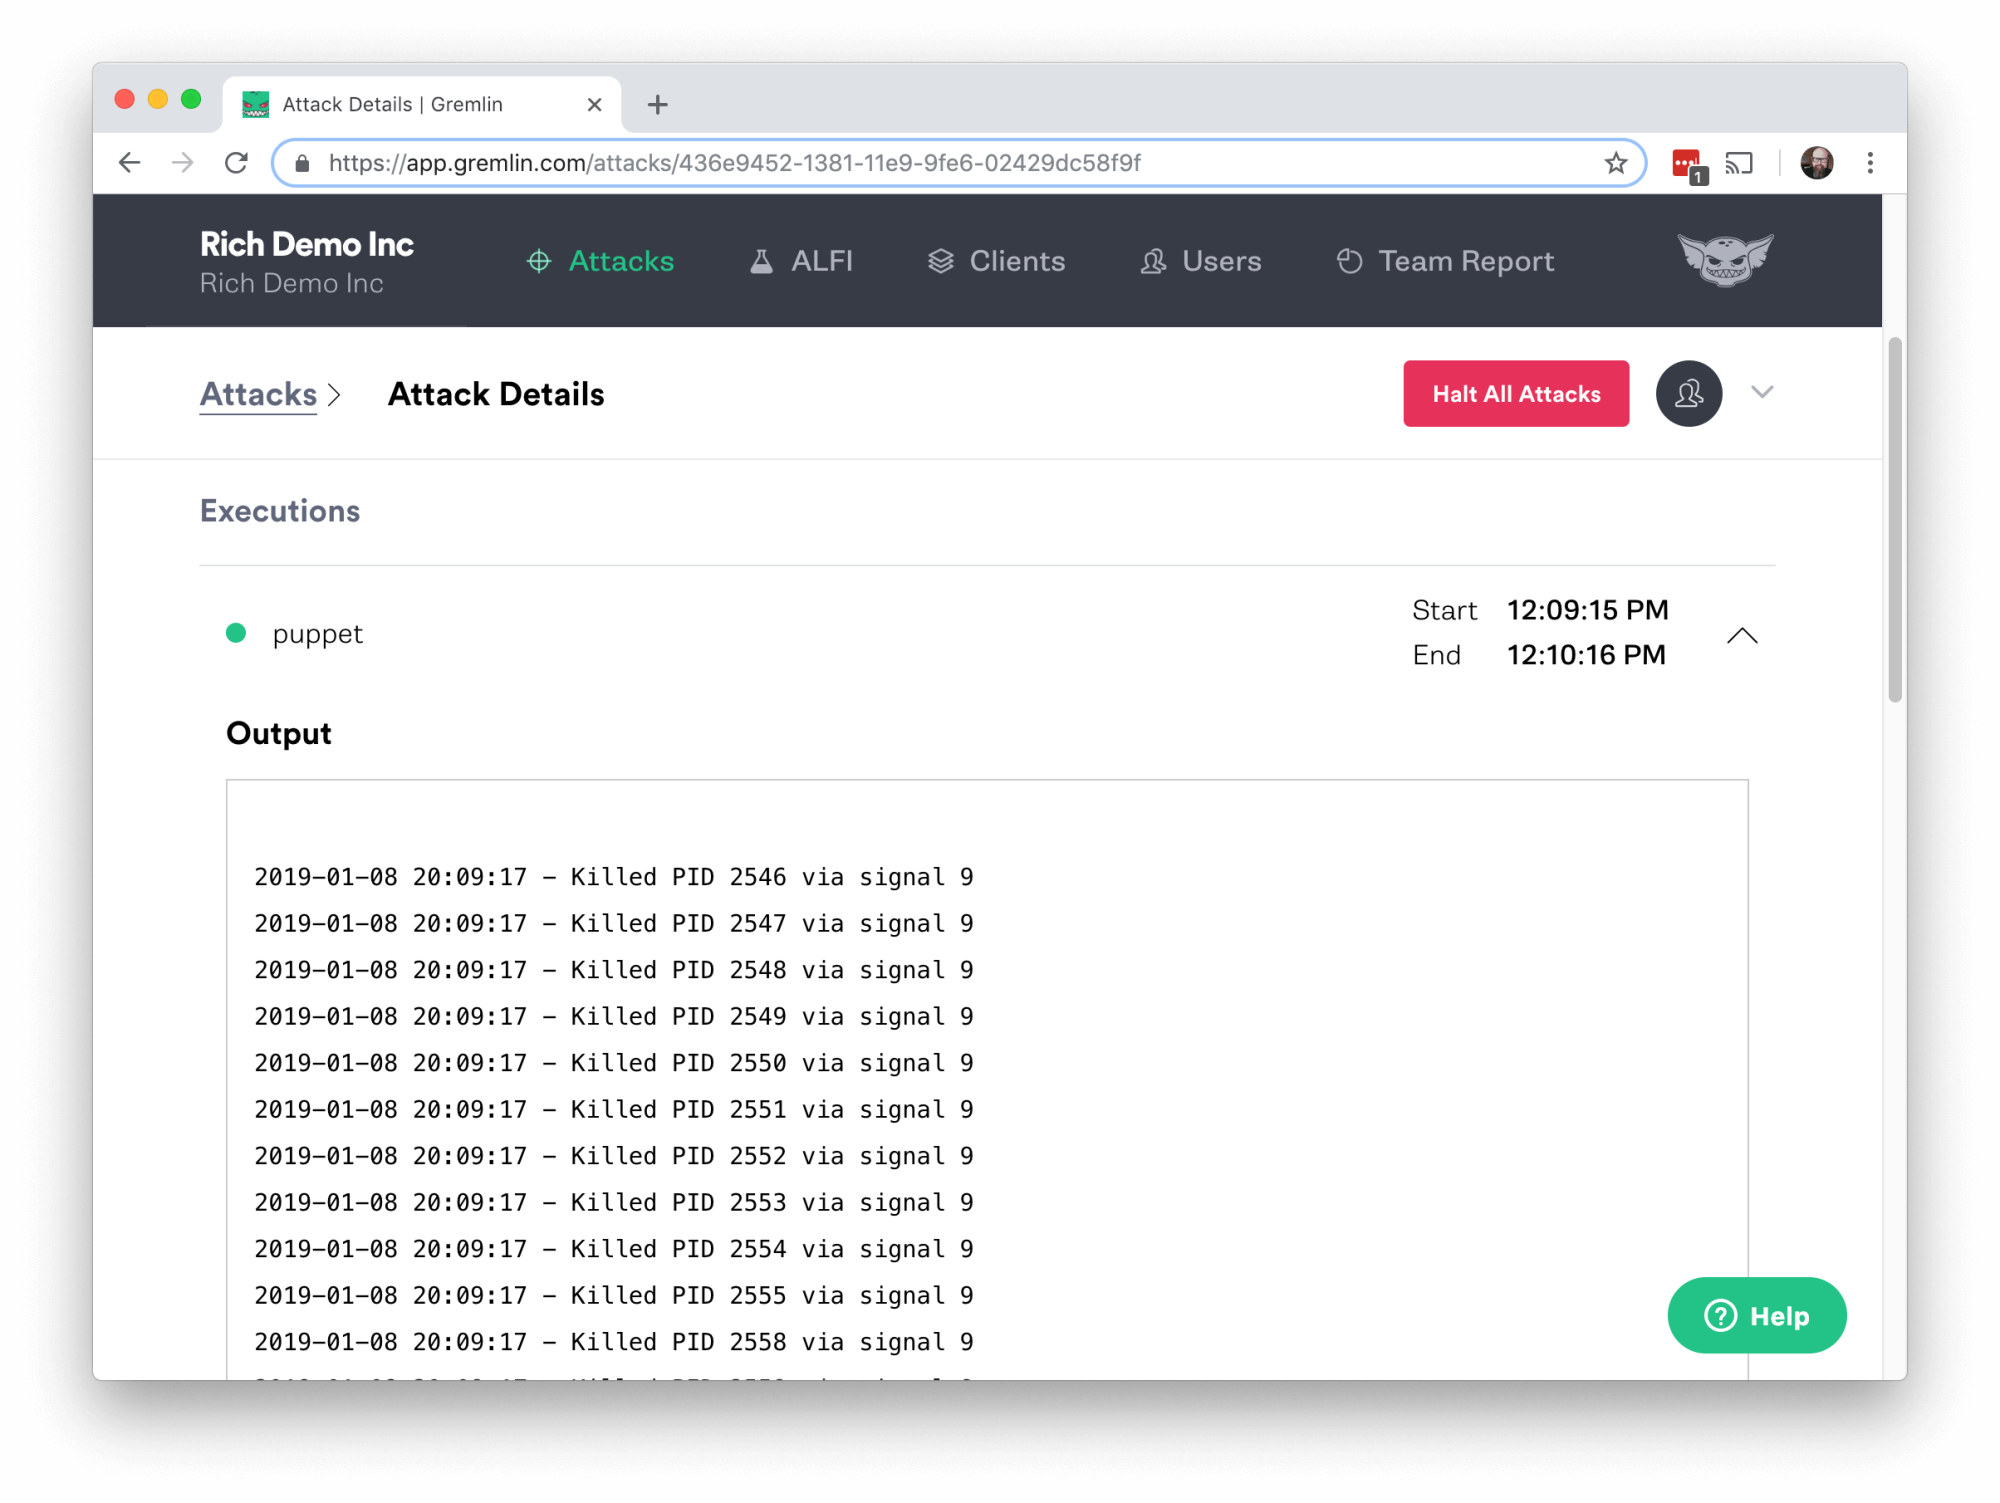
Click Unleash Gremlin and wait for the attack to complete. Then click on the attack in the completed list and you can see more details about it. Under Executions you’ll see an arrow pointing down, on the right side of the screen. Click that to expand the details and you’ll see the log for the attack.

Now go back to your shell on the host and run the Puppet agent again with that same command:
1sudo /opt/puppetlabs/bin/puppet agent -t
This time the output you get should look very different.
1Warning: Unable to fetch my node definition, but the agent run will continue:2Warning: Error 500 on SERVER: Server Error: Classification of puppet.localdomain failed due to a Node Manager service error. Please check /var/log/puppetlabs/console-services/console-services.log on the node(s) running the Node Manager service for more details.3Info: Retrieving pluginfacts4Info: Retrieving plugin5Info: Retrieving locales6Info: Loading facts7Error: Could not retrieve catalog from remote server: Error 500 on SERVER: Server Error: Failed when searching for node puppet.localdomain: Classification of puppet.localdomain failed due to a Node Manager service error. Please check /var/log/puppetlabs/console-services/console-services.log on the node(s) running the Node Manager service for more details.8Warning: Not using cache on failed catalog9Error: Could not retrieve catalog; skipping run
The Postgres database has been killed, and without it running the Puppet Agent gets a 500 error.
You’ll also see problems if you log into the Puppet Enterprise web UI (the PE console), which should be running on your host on port 443.
https://YOUR_HOSTNAME
Try to log into Puppet Enterprise console with the username “admin” and the password you set during the PE install. The login attempt should fail.

You may receive a different error message depending on the state of your system. If you were already logged into the console, you’ll see a red error screen.
In this second experiment we’ve found that we can kill the Postgres database, and that it does not restart automatically. That’s almost certainly by design, as a failed database is a situation where you likely want human intervention. But that failure does leave the system in a very unusable state.
Puppet Enterprise does have a High Availability feature that you can enable. It requires running a second Puppet Enterprise master, which should pick up for the services that aren’t functional if the Postgres database on the primary dies. Running Puppet Enterprise in the default single host configuration as we have done here will not allow your system to withstand this kind of database failure. A good further test would be to set up your Puppet Enterprise masters with the High Availability feature enabled, and see what happens when you kill the Postgres database on the primary host.
Step 6 - Additional Chaos Engineering experiments to run on Puppet Enterprise
- CPU/Memory - How does Puppet Enterprise respond when you attack these system resources?
- Latency/Packet Loss - What impact do network issues have on how Puppet Enterprise functions?
- Time Travel - Puppet Enterprise uses TLS certs on the master and agent hosts. What happens when the time is no longer in sync between a master and agent?
Conclusion
This tutorial has explored how to perform Chaos Engineering experiments on Puppet Enterprise using Gremlin. We discovered some things about how resilient the Puppet Enterprise system is, and some ways to improve its resiliency.
Related


Avoid downtime. Use Gremlin to turn failure into resilience.
Gremlin empowers you to proactively root out failure before it causes downtime. See how you can harness chaos to build resilient systems by requesting a demo of Gremlin.
Get started